


Understanding the Importance of Proper Rosemary Harvesting
Rosemary (Salvia rosmarinus) is a versatile and resilient herb that thrives in sunny conditions and can tolerate drought. It adapts well to various temperatures, making it a popular choice for gardeners. However, one aspect of growing rosemary that requires attention is how it is harvested. If not done correctly, overharvesting can harm or even kill the plant. Ensuring proper harvesting techniques helps maintain the health and productivity of your rosemary plant.
Regular pruning encourages new growth and keeps the plant bushy and productive. On the other hand, if left unpruned, rosemary can become woody with bare patches that stop producing leaves. For those who frequently use rosemary in their cooking, maintaining a consistent harvesting schedule is an excellent way to keep the plant healthy. With the right tools and knowledge, you can learn how to harvest your rosemary plant effectively and preserve it for year-round use.
When to Harvest Rosemary
Rosemary is an evergreen, perennial herb that grows throughout the year in warm climates. Before starting to harvest, it's important to wait until the plant is well-established and has reached at least 12 inches in height. This process may take a year or more. Once established, you can take small amounts of rosemary throughout the year, but larger, regular harvests should be done during spring and summer when the plant is actively growing.
The best time to harvest rosemary is in the morning after any dew has evaporated. At this time, the essential oils in the leaves are most concentrated, which means the flavor and fragrance will be at their peak. As the day progresses, heat causes these oils to evaporate, reducing the potency of the herb. To get the best flavor, it’s ideal to harvest rosemary just before it starts to flower. If you plan to dry it, harvest it once the buds have formed but before the flowers open.
How to Harvest Rosemary Correctly
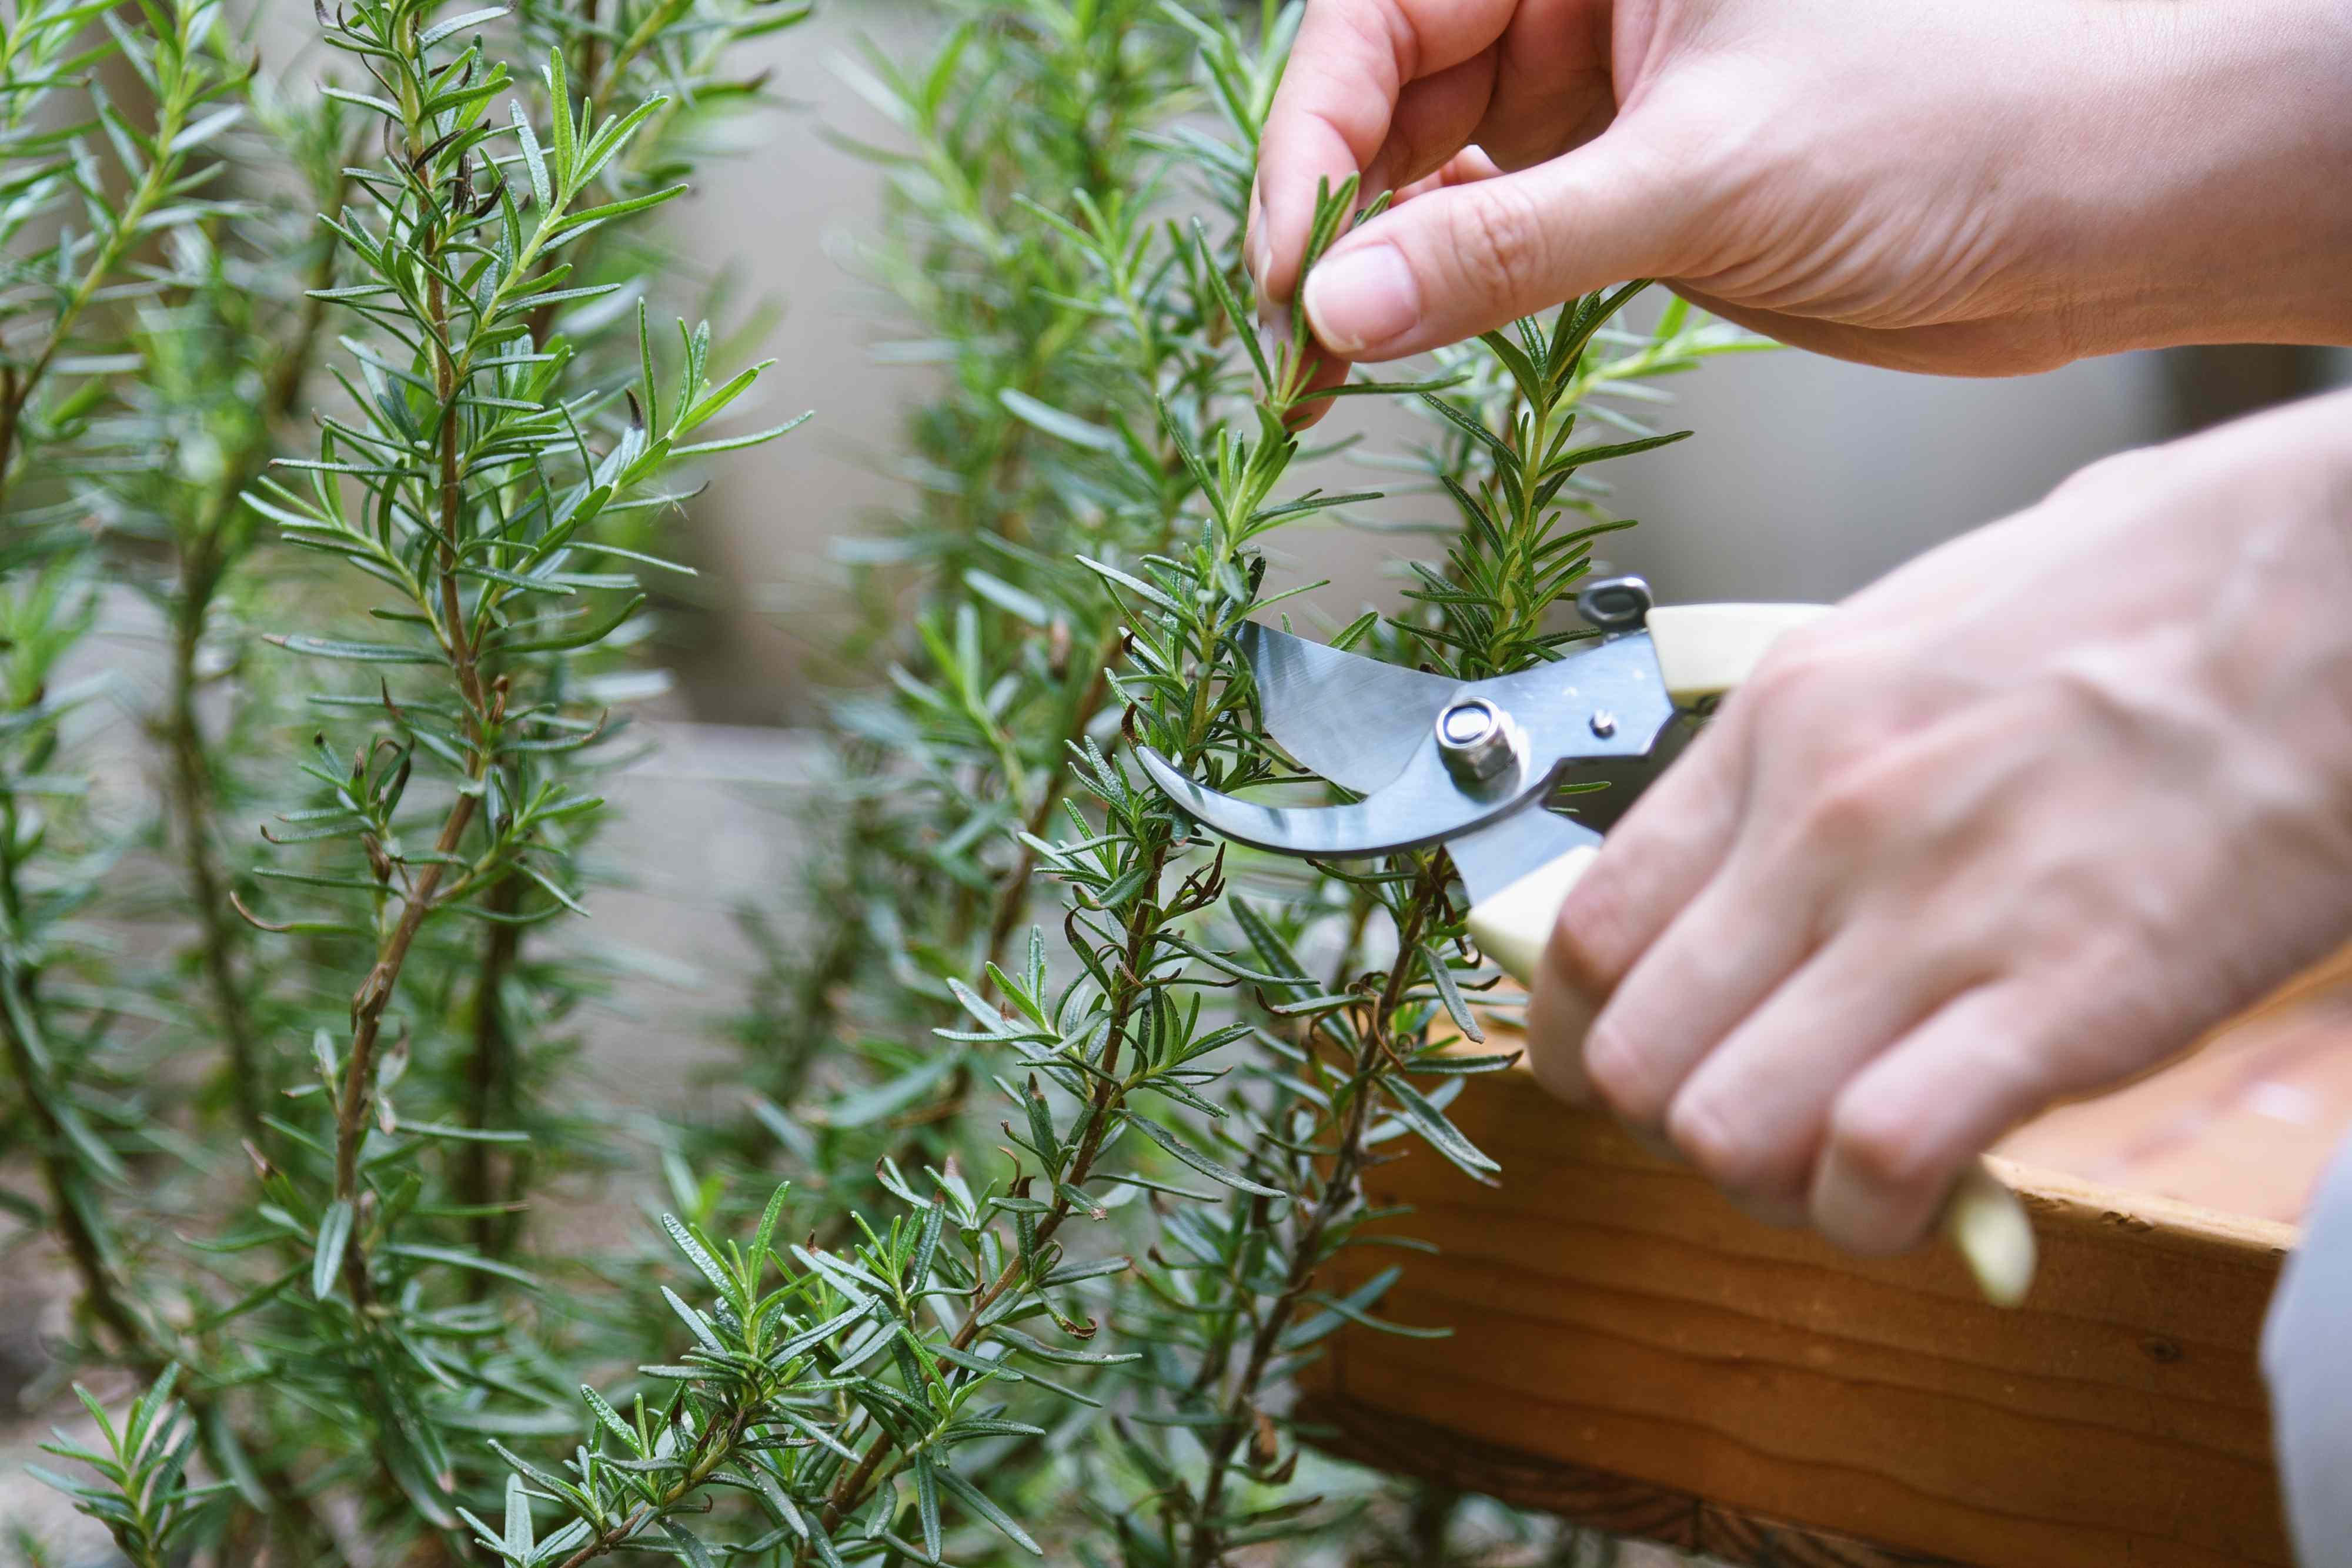
To ensure your rosemary plant continues to grow and thrive, it’s important to only remove up to a third of the plant at a time. Regularly cutting off the tender tips encourages bushier growth. For smaller plants, wait for new growth to replace what you’ve cut before harvesting again. Well-established plants with ample new growth can be harvested weekly.
When harvesting, look for healthy, tender stems from the outer branches. Avoid cutting the woody parts of the plant, as this can damage its structure. Harvesting from new growth also promotes more leaf production and a fuller plant. Use clean scissors or pruning shears to cut stems just below a leaf node. If you only need a small amount, cut 2 to 3 inches from the leaf tips. For a larger harvest intended for drying, cut softwood stems that are up to 8 inches long.
Work your way around the plant to harvest from all sides, ensuring balanced and even growth. This approach helps maintain the plant’s shape and encourages uniform development.
Harvesting Rosemary for Winter Storage
In regions where temperatures drop below freezing, rosemary can be grown as an annual. If you plan to overwinter your plant indoors, it’s best to harvest it before the cold weather sets in. For outdoor plants that thrive year-round, harvest before the first frost, but make sure to leave any new growth untouched for two weeks so the plant can recover before going dormant.
Storing Fresh Rosemary
The best time to harvest rosemary for storage is before it begins to flower, when the essential oils are most concentrated. Once harvested, fresh rosemary can be stored in the refrigerator for a couple of weeks. If you plan to use it soon, place the cut sprigs in a jar with an inch of water, like you would with flowers. Cover the jar loosely with a plastic bag to retain moisture, and change the water daily. Store the jar in the refrigerator.
You can also wrap fresh rosemary sprigs in a paper towel and store them in a resealable plastic bag in the crisper drawer. This method helps maintain freshness and extends the shelf life of the herb.
Freezing Rosemary
For longer-term storage, freezing is an effective option. Wash and thoroughly dry the rosemary before freezing. Spread the sprigs on a baking sheet and freeze for a few hours or until solid. You can then strip the leaves and transfer them to an airtight container, or keep the entire stems in a freezer bag. Frozen rosemary can last up to a year.
Drying Rosemary
Air-drying is a simple and effective method for preserving rosemary. After washing and drying the herb, gather it into a bunch, tie the ends, and hang it upside down in a warm, dry place with good ventilation. Allow it to dry for about two weeks. Once dry, strip the leaves from the stems and store them in an airtight container for up to a year.
Alternatively, you can dry rosemary in a food dehydrator or in the oven. To dry in the oven, spread the sprigs on a parchment-lined sheet pan and set the oven to its lowest temperature. Place the rosemary inside for two to four hours or until the sprigs are dry and brittle.